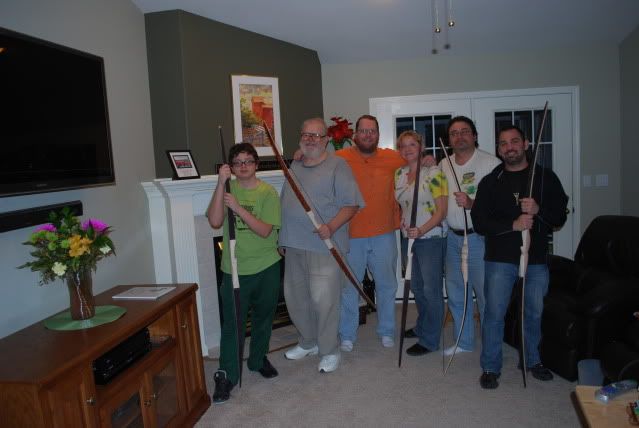
Due to time constraints, we had about 24 hours to accomplish our mission. So a basic board bow design was the order of the day. It started on Friday night with a quick lesson on how to pick a good board for a bow, and the group posed for the Before portrait.
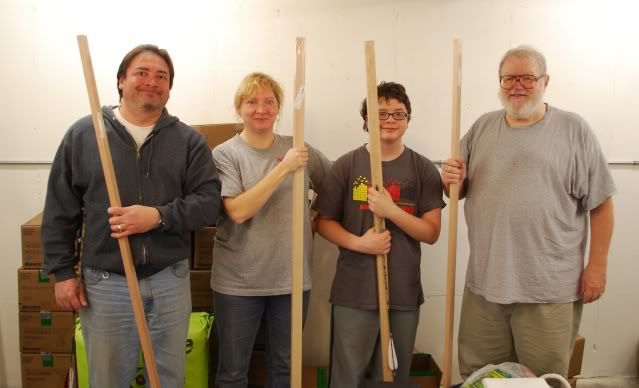
Soon-to-be-Bowyers with their soon-to-be-bows.
We started by taking measurements and laying out our bows.
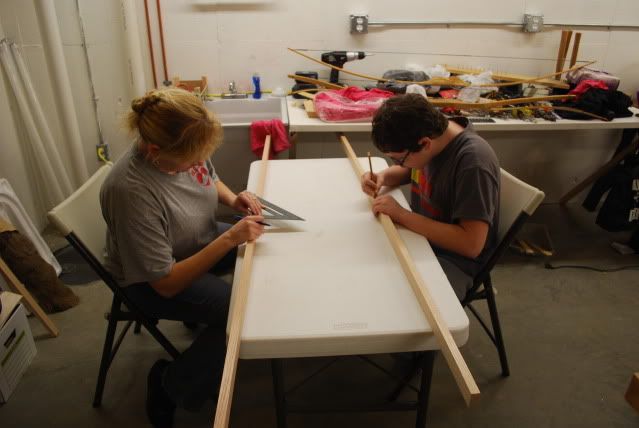
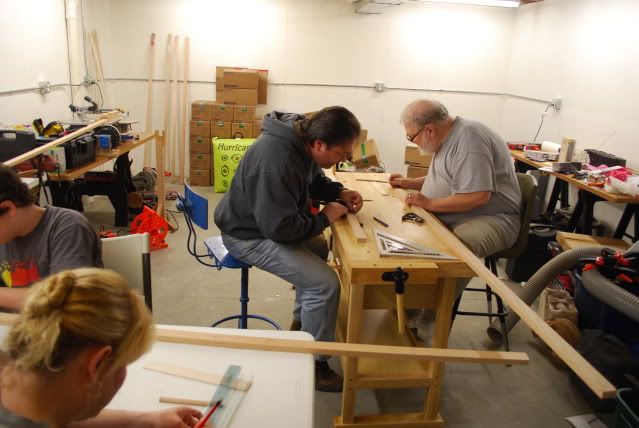
Everyone worked to the best of their abilities, and pretty soon we were on to cutting out the rough shapes.
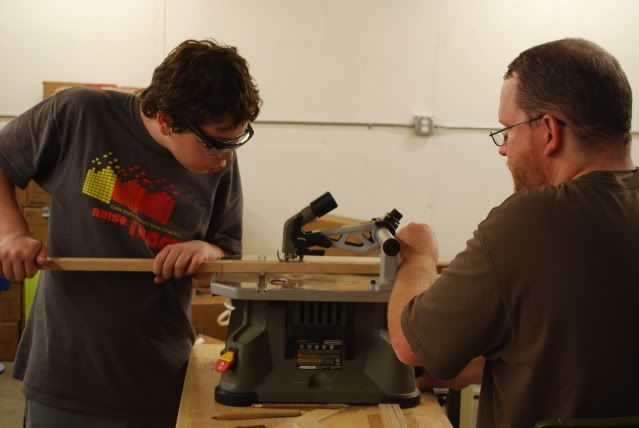
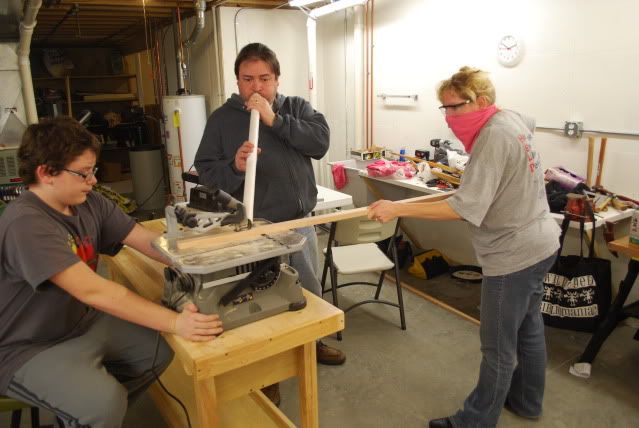
including a MacGyver solution to keeping the sawdust out of the cutting area. Nice bandito look for Steph, too!
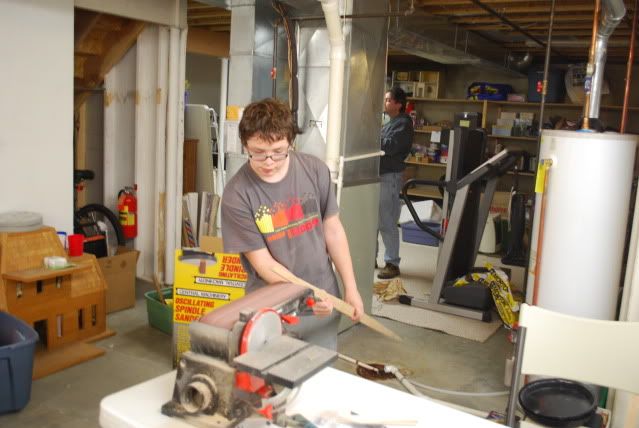
Then came the first of much, much sanding. All of the bow blanks needed to be sanded down on the sides and the back to prepare for gluing on the riser (handle) and the silk backing. Steph found some excellent 100% silk ties that would have looked rather questionable on a human, and everyone picked one they wanted and cut them apart. Sanding took up a lot of the evening.
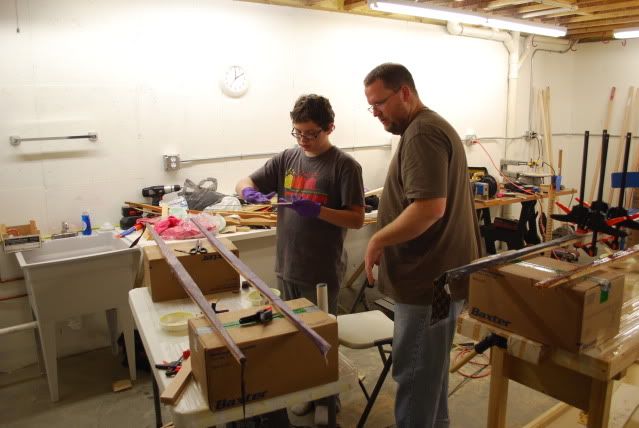
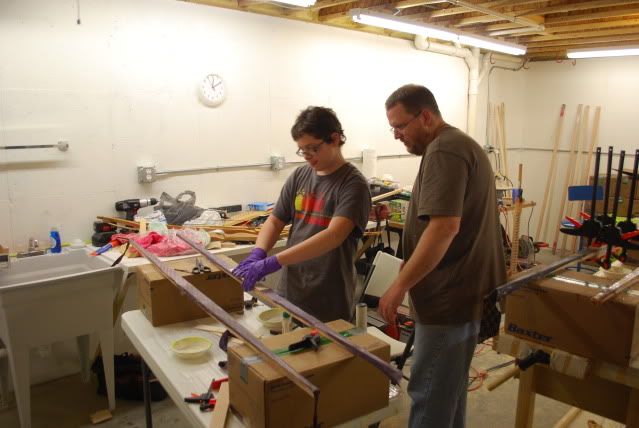
After much prep work, we finally glued up the bows around midnight. (In our defense, we didn't get started until a bit after eight that night!) Steph, Harrison and Julio all used Tightbond III to glue on their risers and ties. Dad used epoxy, as did I on the "demo" bow I was building. The ties may have been awful for people, but they ended up looking really cool on the bows!
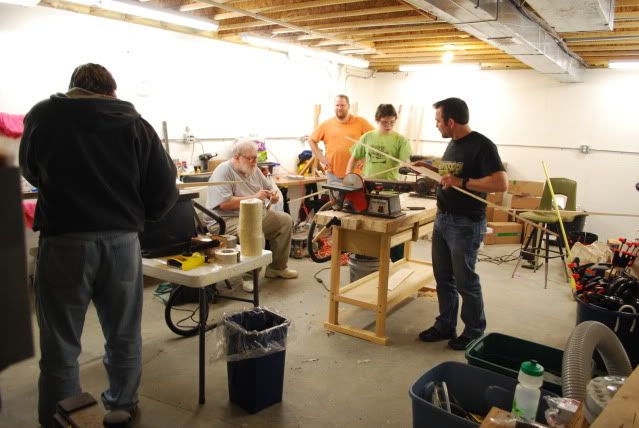
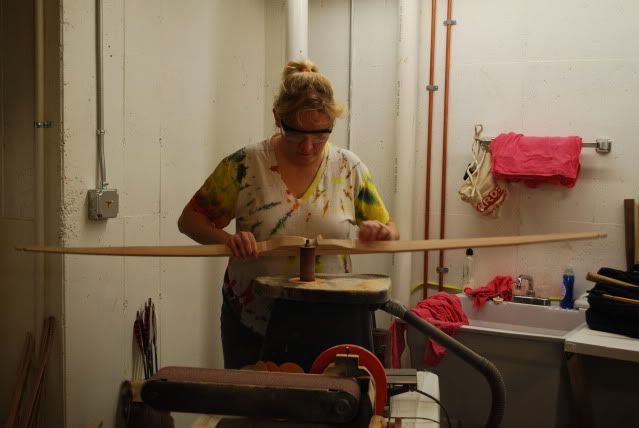
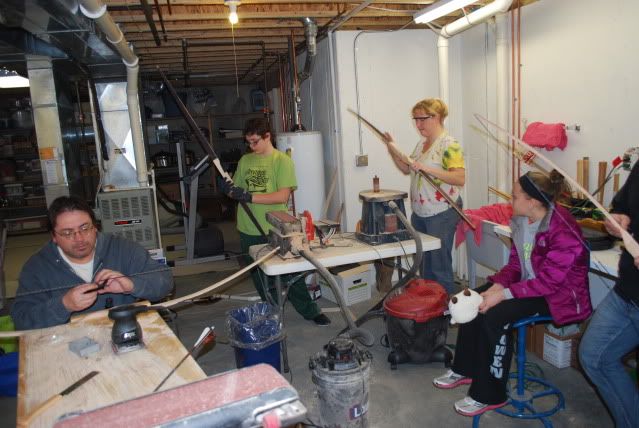
The next moring, my friend Matt joined us, so I gave him the "demo" bow to finish for himself. I cut the bellies out of most of the bows to save some time, and the shop quickly became a beautiful, chaotic dance of people working on bows. Sanding, cutting in nocks, more sanding...
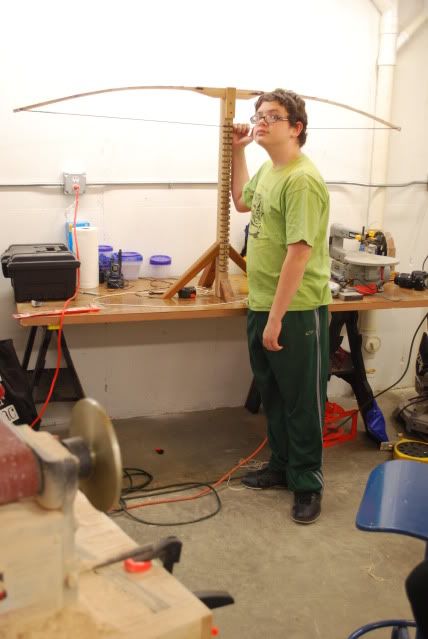
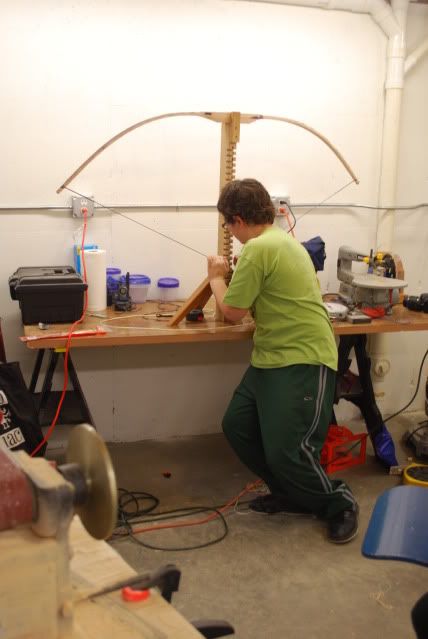
Soon we were into tillering, or getting the bows to bend how we wanted them too. I also did a quick lesson on building Flemish twist strings, and Dad, Julio and Harrison all gave it a go!
Matt waiting for tillering assistance, Dad working on a string, and Harrison waiting for the tillering tree.
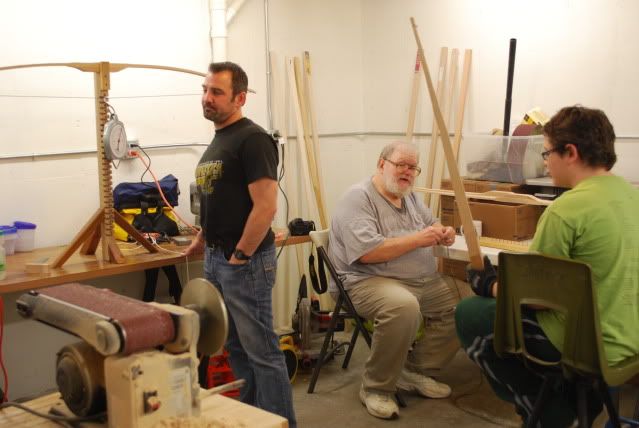
Harrison soon had his bow on the tillering tree and learned the basics.
After much tiller checking, sanding, checking, and sanding, the students started work on their risers (handles) to get a good grip, and cut their arrow shelves in.
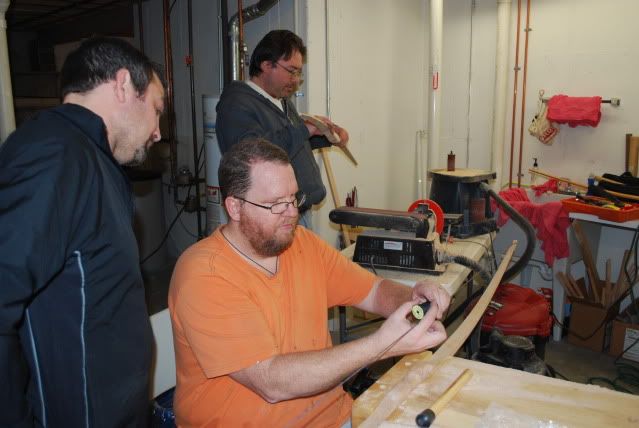
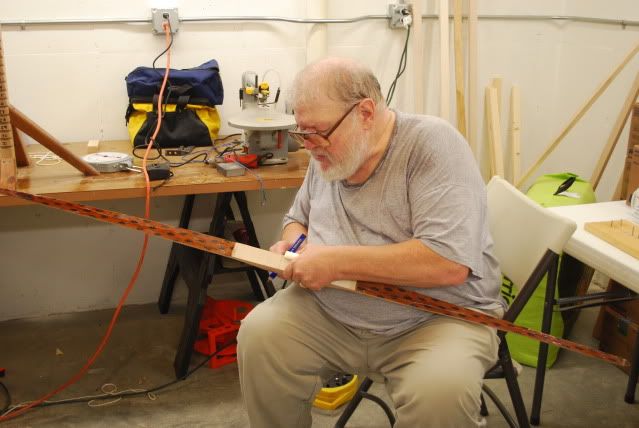
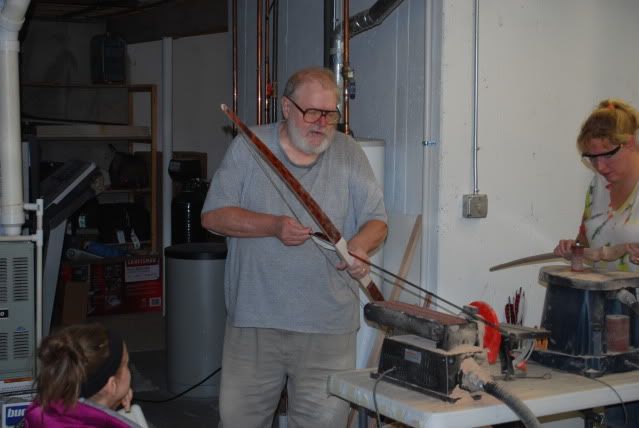
Dad marking his riser for the arrow shelf and grip.
Matt was the first one to finish his grip and arrow shelf, and it was time to shoot a few arrows and see how it worked out.
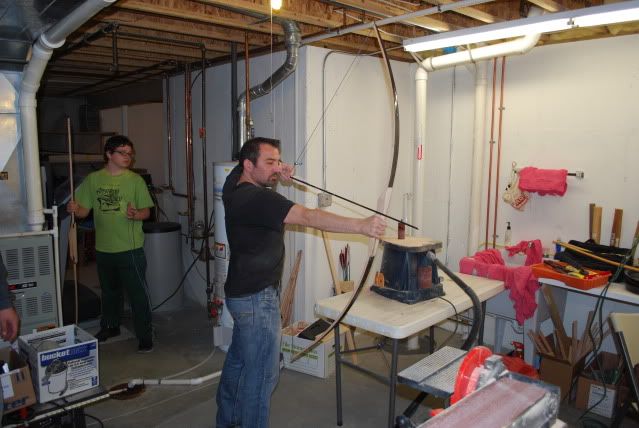
Following close on the heels of Matt was the other left handed shooter of the group, Julio - Showing fine form as he released his first arrow!
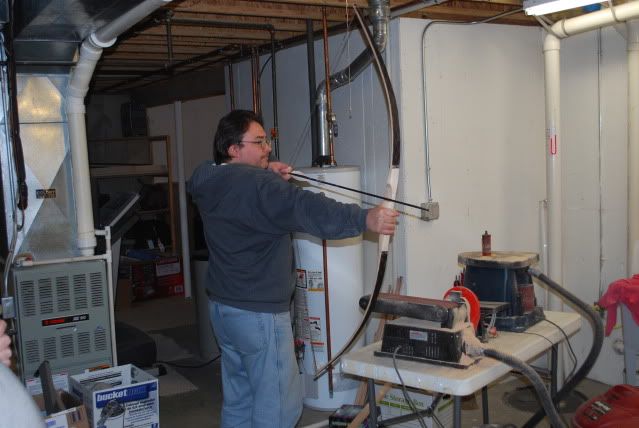
I taught Matt how to put serving on his string while Julio tweaked his bow.
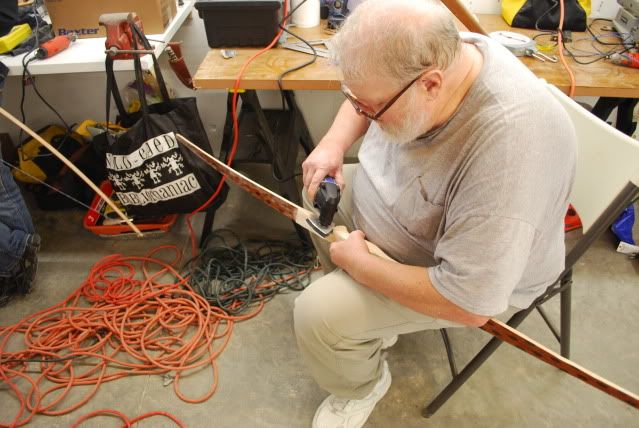
Dad has some great tools for cutting down on build time. I usually do this part with files and sandpaper wrapped around my finger. Way to work smarter - not harder Dad!
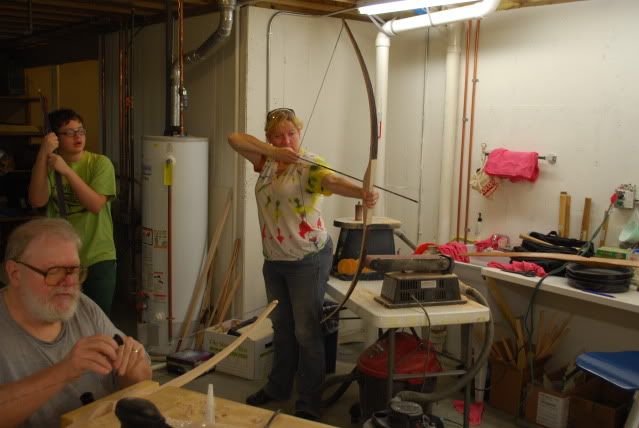
Julio moved on to serving his string while Harrison and Steph were finishing up their handles and arrow rests.
Meanwhile, Dad was ready to fire his first arrow. A sweet shooting little bow, there!
Harrison was next up, having done about 99% of the work on his bow himself! Well Done HD!
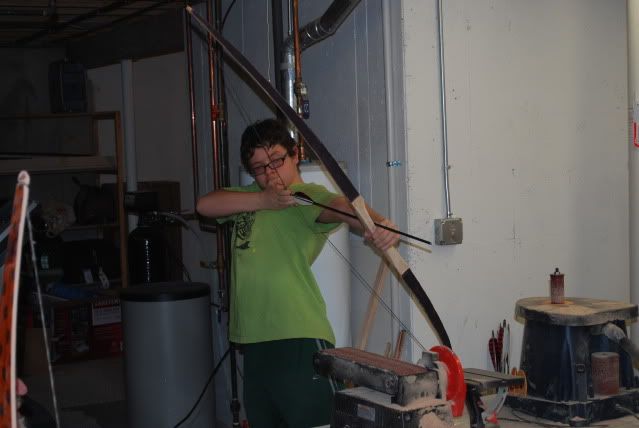
As Dad added the serving to his string, Steph released her first arrow at about a quarter to eight, bringing out total to five shootable bows in just under 24 hours! Excellent form too, Steph! And from a well made bow!
Five new bowyers with their five new bows! From Left to Right -
Harrison, with his 72" 20# @ 25" bow.
Terry, with his 66" 25# @ 28" bow.
Steph, with her 66" 20# @ 25" bow.
Julio, with his 66" 25# @ 28" bow.
Matt, with his 72" 33# @ 28" bow.
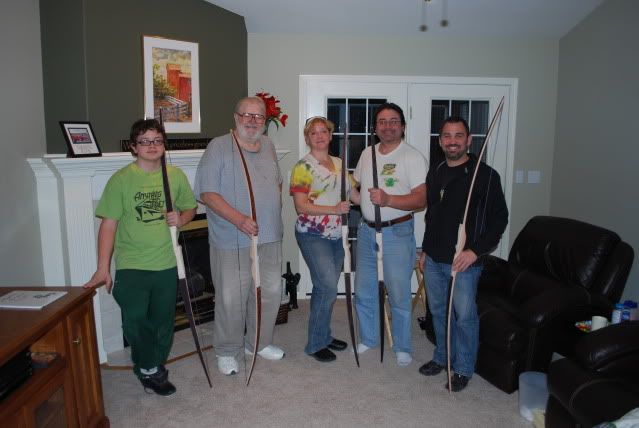
Those were just sticks last night at that time! Well done group!
And the obligatory full draw shot...
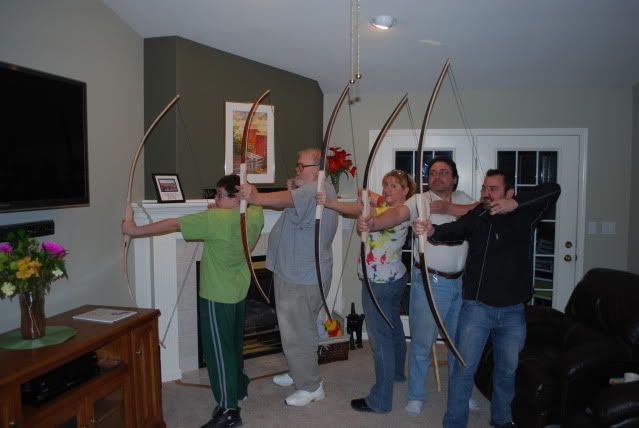
Sweet!
It was a very fun, if hectic weekend. I learned that working in a shop not my own requires a bit more prep work, but loved working in Dad's well equipped shop. And it was really, really fun to see those I had just taught a skill turning around and teaching it to others. I liked the looks of satisfaction on everyones face as they fired their first arrows, too. When I do this again, I'll plan for shorter work days and more days, total. But overall I think it worked out great!
Well done inaugural class of Bluefeather Bowyers! Happy shooting!
More Later

