Showing posts with label Archery. Show all posts

Monday, November 12, 2012

Bow Build Weekend!

Not only was this weekend the birthday of my beloved Marine Corps AND Veterans Day, but I spent the weekend leading a bow building weekend down at the Shaffer Hotel Workshop! The class size fell from six to two, but that was OK, as the build went pretty well! Introducing future bowyers Chad and David!
 
Day One 
 It started with wood selection and choosing the silk ties that would become the backing for the bows.  Mere silk and sticks now, soon to be bows!
 Layout was first, measure twice and cut once the rule. Unfortunately one of the staves became the first casualty on cutout when the blade drifted over the well measured line.  No big deal though, plenty of supplies on hand. 
 After the cut out, the sanding began.  Sanding, sanding and more sanding!  After plenty of hard work, the backs of the bows were shaped and sanded and ready for the glue up.
 Silk ties cut apart, handle materials chosen and lots of sloppy glue work. 
 Day one complete!  Bows backed, risers glued up, everything looked great!  Good work guys!

Day Two
 Day two began with trimming silk, then back to the sanders.  Sanding and shaping and shaping and sanding.
 Tips were added to the bows for aesthetics and strength.  We went to lunch while these cured up.
 Bellies cut next. then it was Tiller Time!  Sanding and shaping, then to the tiller trees.
 More shaping, more tillering, more shaping, more tillering. The guys worked hard.  The second casualty of the build was Davids bow, which was tillering beautifully and was nearly at his weight and draw length when it developed a nasty stress crack right near the riser.  No way to predict it, it just happens sometimes.  Ah well.  Fortunately I had been building a bow along side them as a demo bow, and David took over the tillering on that, once again doing exceptional work and tillering out a beautiful bow.
 Handles were shaped and arrow windows cut in.  And then the best part of any bow build - Shooting the first arrows!
 Chad's first shot!  Nice tiller, really well made bow. 30# at 27".  Good work Chad!
 David's first shot! He essentially tillered two bows that day, and did a splendid job on both!  Fortunately the back up bow turned out awesome as well - no stress cracks!  40# at 30".  Excellent bow!
 Two newly minted bowyers and their bows.   Job well done, gentlemen! And you have a fine bow that you built yourself!

The obligatory full draw shot.  Nice tillering guys!

It was a fun weekend of bow building!  If you are interested in setting up a bow build weekend for your group, feel free to contact me for details!  john@bluefeathergardens.com

 More Later

Sunday, February 12, 2012

Weekend Bowyery

A while back, my sister and her family expressed a desire to build their own bows. This led to the First Ever Bluefeather Archery Workshop!

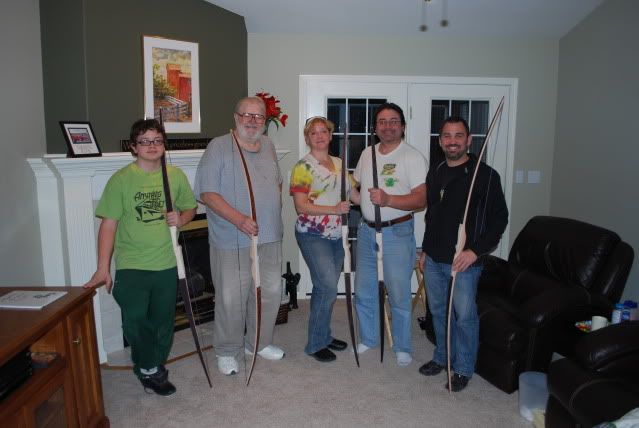
Due to time constraints, we had about 24 hours to accomplish our mission. So a basic board bow design was the order of the day. It started on Friday night with a quick lesson on how to pick a good board for a bow, and the group posed for the Before portrait.
Photobucket
Soon-to-be-Bowyers with their soon-to-be-bows.

We started by taking measurements and laying out our bows.
Photobucket
Photobucket
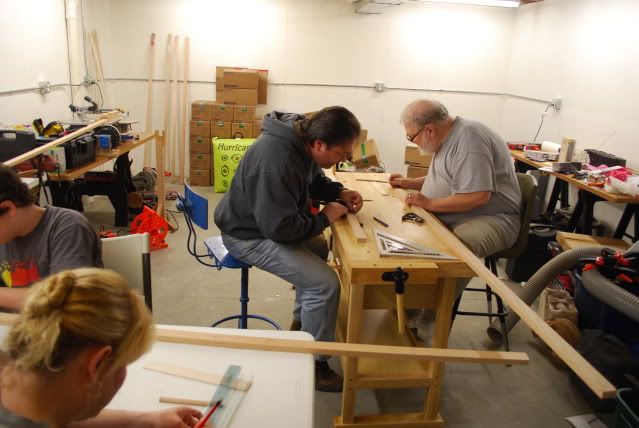
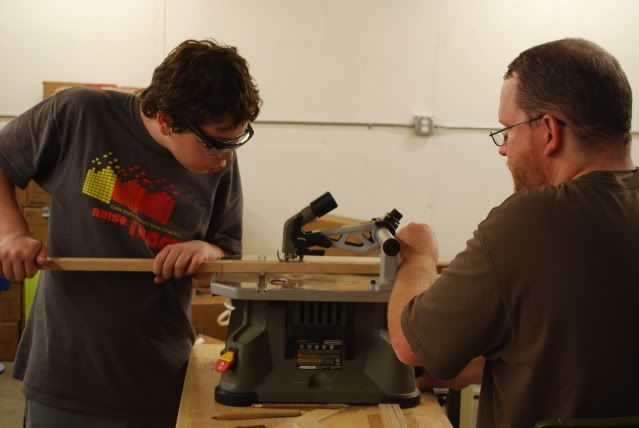
Everyone worked to the best of their abilities, and pretty soon we were on to cutting out the rough shapes.
Photobucket
Photobucket
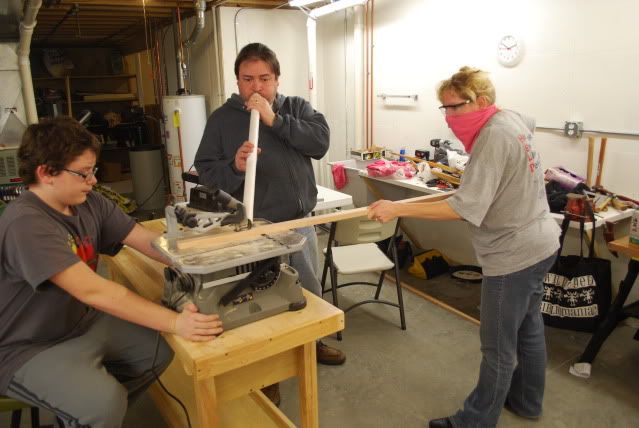
including a MacGyver solution to keeping the sawdust out of the cutting area. Nice bandito look for Steph, too!

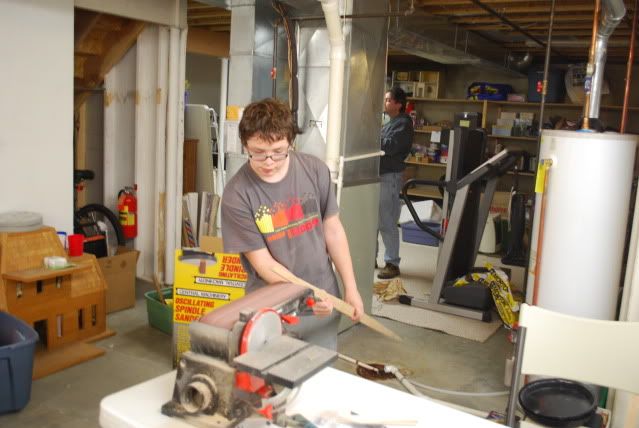
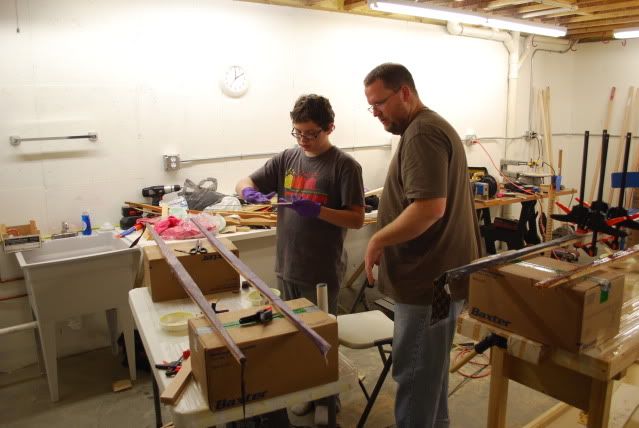
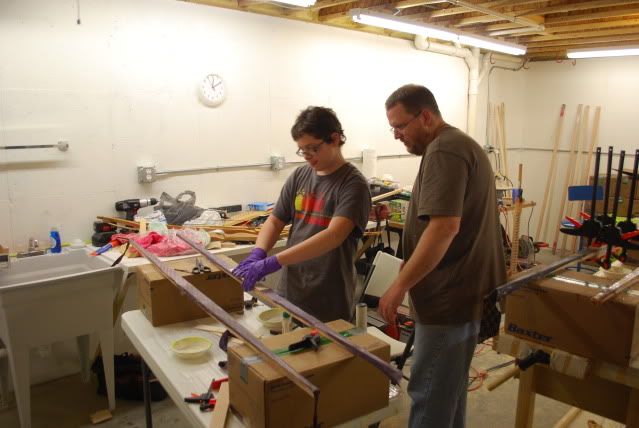
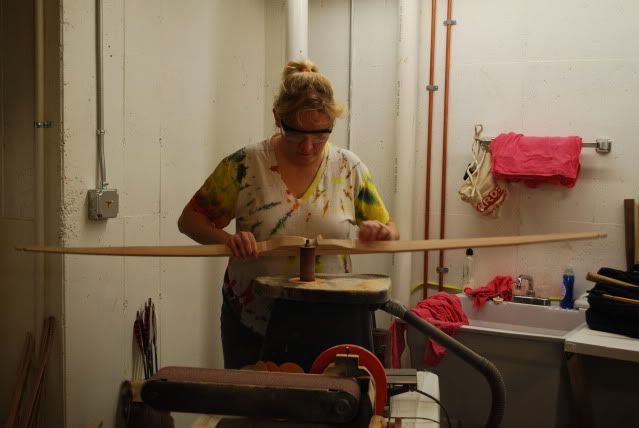
Then came the first of much, much sanding. All of the bow blanks needed to be sanded down on the sides and the back to prepare for gluing on the riser (handle) and the silk backing.  Steph found some excellent 100% silk ties that would have looked rather questionable on a human, and everyone picked one they wanted and cut them apart. Sanding took up a lot of the evening.

Photobucket

After much prep work, we finally glued up the bows around midnight. (In our defense, we didn't get started until a bit after eight that night!)  Steph, Harrison and Julio all used Tightbond III to glue on their risers and ties.  Dad used epoxy, as did I on the "demo" bow I was building. The ties may have been awful for people, but they ended up looking really cool on the bows!

Photobucket


Photobucket

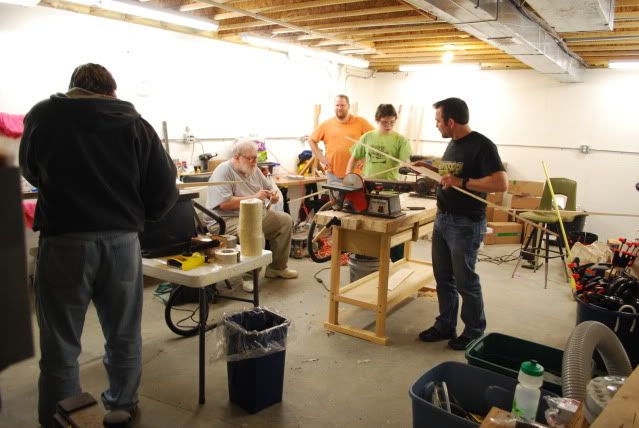
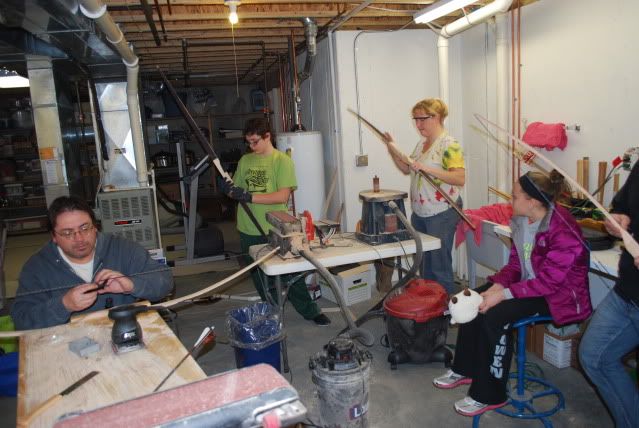
The next moring, my friend Matt joined us, so I gave him the "demo" bow to finish for himself. I cut the bellies out of most of the bows to save some time, and the shop quickly became a beautiful, chaotic dance of people working on bows. Sanding, cutting in nocks, more sanding...

Photobucket

Soon we were into tillering, or getting the bows to bend how we wanted them too. I also did a quick lesson on building Flemish twist strings, and Dad, Julio and Harrison all gave it a go!

Matt waiting for tillering assistance, Dad working on a string, and Harrison waiting for the tillering tree.
Photobucket

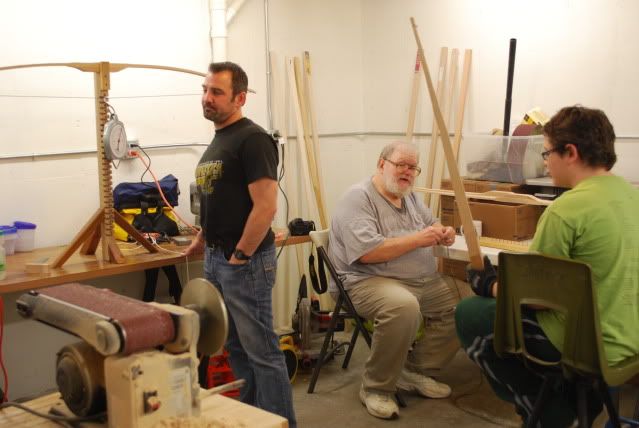
Harrison soon had his bow on the tillering tree and learned the basics.
Photobucket
Photobucket

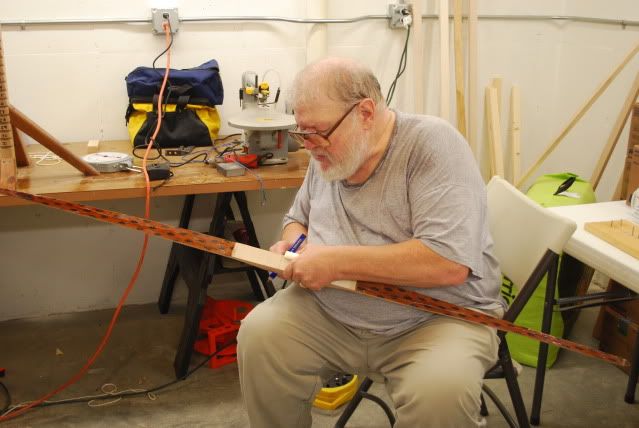
After much tiller checking, sanding, checking, and sanding, the students started work on their risers (handles) to get a good grip, and cut their arrow shelves in.
Photobucket


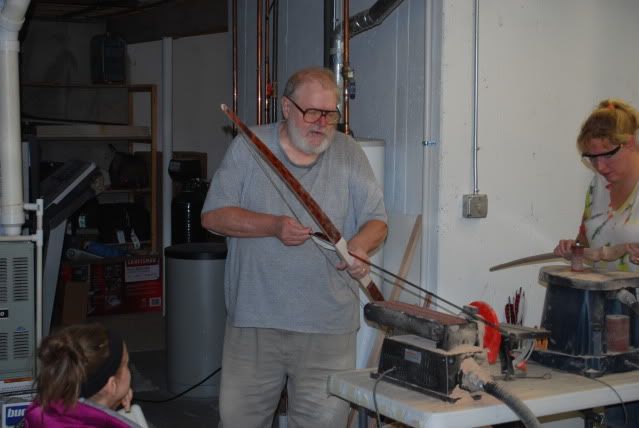
Dad marking his riser for the arrow shelf and grip.
Photobucket


Matt was the first one to finish his grip and arrow shelf, and it was time to shoot a few arrows and see how it worked out.

Photobucket
Success!

Following close on the heels of Matt was the other left handed shooter of the group, Julio - Showing fine form as he released his first arrow!
Photobucket


I taught Matt how to put serving on his string while Julio tweaked his bow.
Photobucket

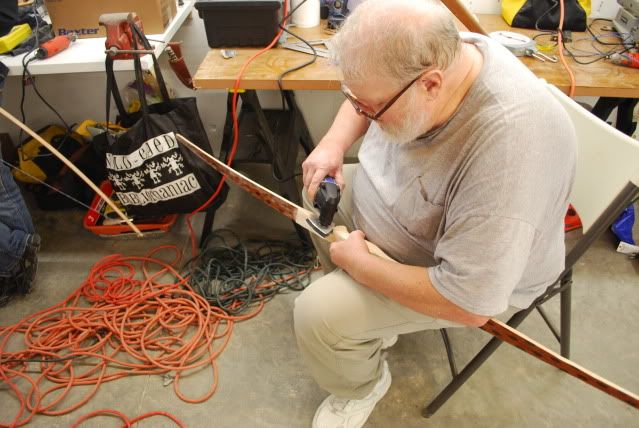
Dad has some great tools for cutting down on build time.  I usually do this part with files and sandpaper wrapped around my finger.  Way to work smarter - not harder Dad!
Photobucket

Julio moved on to serving his string while Harrison and Steph were finishing up their handles and arrow rests.
Photobucket


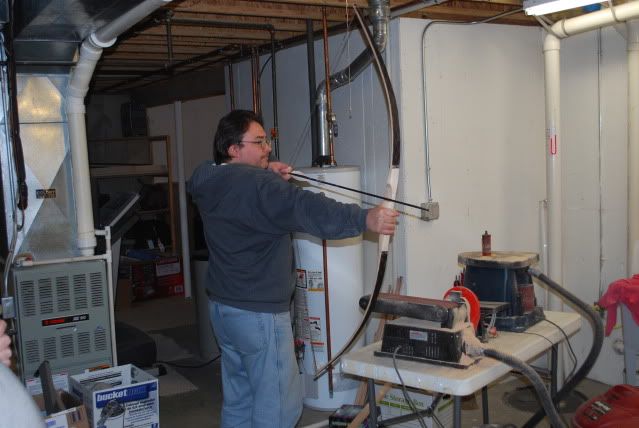
Meanwhile, Dad was ready to fire his first arrow.  A sweet shooting little bow, there!
Photobucket

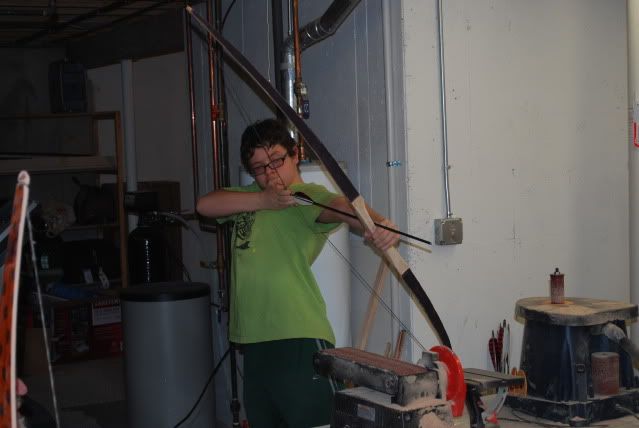
Harrison was next up, having done about 99% of the work on his bow himself! Well Done HD!
Photobucket

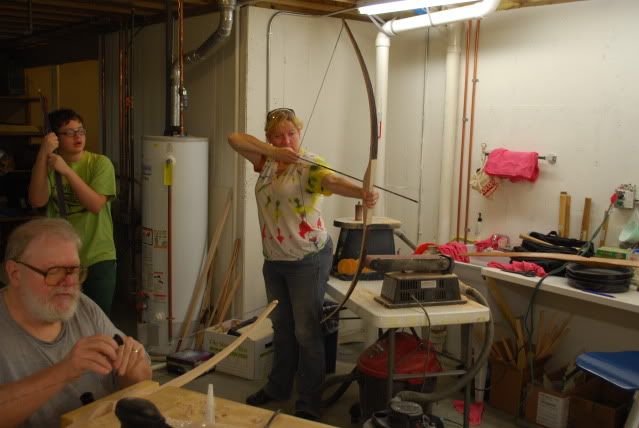
As Dad added the serving to his string,  Steph released her first arrow at about a quarter to eight, bringing out total to five shootable bows in just under 24 hours!  Excellent form too, Steph! And from a well made bow!
Photobucket


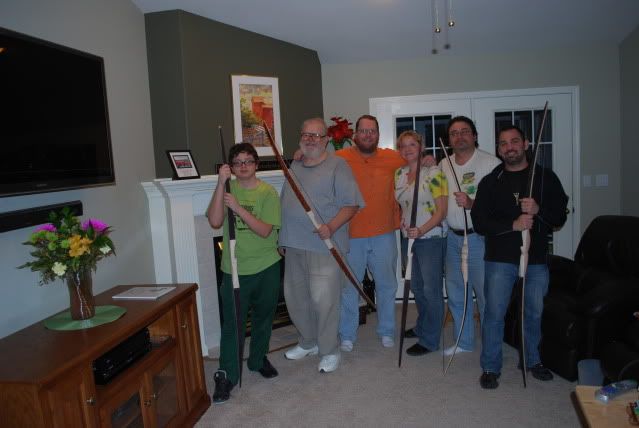
Five new bowyers with their five new bows!  From Left to Right -
Harrison, with his 72" 20# @ 25" bow.
Terry, with his 66" 25# @ 28" bow.
Steph, with her 66" 20# @ 25" bow.
Julio, with his 66" 25# @ 28" bow.
Matt, with his 72" 33# @ 28" bow.


Photobucket

Those were just sticks last night at that time!  Well done group!

And the obligatory full draw shot...
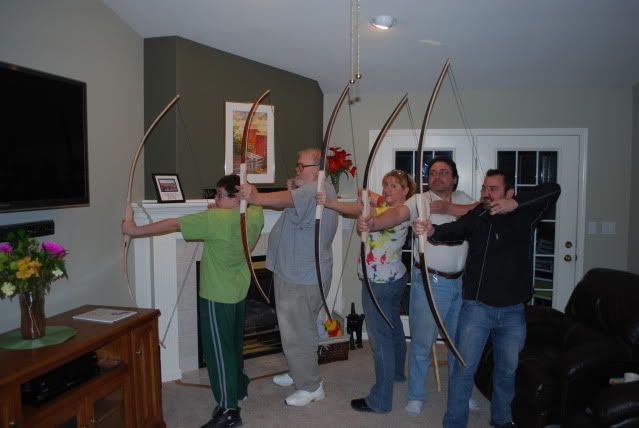
Photobucket

Sweet!

Photobucket

It was a very fun, if hectic weekend.  I learned that working in a shop not my own requires a bit more prep work, but loved working in Dad's well equipped shop. And it was really, really fun to see those I had just taught a skill turning around and teaching it to others.  I liked the looks of satisfaction on everyones face as they fired their first arrows, too.  When I do this again, I'll plan for shorter work days and more days, total. But overall I think it worked out great!

Well done inaugural class of Bluefeather Bowyers!  Happy shooting!

More Later

Wednesday, November 16, 2011

Call Me Fletcher

It's time for yet another installment of "John's New Skill of the Day!" That's right, I'm learning something new. Shocked, aren't you!?!

So here's what I had. When I shot the new arrows I bought a couple of weeks ago I noticed that they wobbled a lot before hitting the target. Not terrible, and I could still kill the pumpkins from 10 to 20 yards out pretty regularly. But I couldn't figure out what was causing the wobble.

For those of you out there (like me) who are not as fluent in Archery as the pros, there are a few things that make a difference in arrow flight. Things like spine weight, what points you use and how many grains those are, whether the arrow is wood, carbon, aluminum, what sort of fletching, left wing or right wing feathers... it truly boggles the mind. So I googled the problem and thought perhaps I was using field points that were too light. (Those are the pointy things on the front, but not the razor like broadheads used for hunting) I visited the gun and archery shop across the road for the first time since we've lived here, and met a very friendly guy who knows loads more about archery than I. I described the problem and he told me that the solution was in the fletching, or feathers, on the back of the arrow. My arrows were using plastic feathers, which apparently when shot from a wooden bow like mine will bounce off the arrow shelf and cause the arrow to wobble when it flies. He suggested I re-fletch my arrows with 5 1/2" real feathers as a solution. Then he directed me to a traditional archery shop across town to get what I needed, as they would have more choices and gear for a traditional archer (that's me).

That he didn't try and sell me something I didn't need and even directed me to another store has earned them my business! They have an indoor range there, and I will happily go there a few times this winter to thank them for the help!

Anyway, I headed to the traditional archery store later in the day, and was like a kid in a candy store. Bows everywhere. And not those metal hunting bows, but wooden works of art. Arrows and materials for all sorts of building of archery stuff. It was awesome! I bought a fletching jig, which was a little spendy, but worth it. And picked out some colors for my arrows.

New toys in tow, I headed home and learned to fletch arrows. With the jig it is not as hard as I thought, and I'm looking forward to a return visit to the store to get supplies to make the entire arrow!

Before...

After...


How do the new arrows work? Well, after I finished a couple, I took them out to give them a try. Wobble - gone. They flew as straight as... well, you know. And I was drilling the pumpkins within an inch of my aim point. I've got four more to do, then I'm going to re-fletch the Boyo's arrows as well since his vanes are plastic and his arrows are also a bit wobbly.

It is a delightful way to spend an evening, and will add a new dimension to my budding bowyer skills.

More Later

Friday, November 11, 2011

I'm All a Quiver

So, a couple of years ago I traded a knife repair for a tanned deer hide. As I put a new handle on the knife (buffalo horn, turned out pretty nice!) I was imagining all of the things I could do with a tanned deer hide. Leggings, maybe. No, no! A shirt! Yeah a buckskin shirt would be fun! Maybe some knife sheaths, too.

So when the hide arrived, I was a little taken aback when it had the hair still on it. It was nicely tanned, but had a few too many holes to make clothes out of. I'm not too sure what a hair on shirt would have looked like anyway. I had no idea what to do with it, so I folded it up and stored it until an idea would come.

Fast forward a year and as I was driving home after a night shift, I saw a little red fox that had been hit by a car and was quite deceased laying half in and half out of the road. I stopped to toss it into the ditch so no other critters who might want to dine on it would meet the same fate, and noticed that it was still warm and not too damaged. I have a friend at work who tans skins of all sorts and thought he might like a nice fresh fox, so I went home, grabbed some trash bags and went back to collect the fox. I called my friend, who gave me advice for keeping it on ice until I could get it to him, and worked out a deal to trade a knife that I built for the tanned fox hide.  This time I knew the hair would be on, and when the fox skin arrived, it was really quite pretty. But I again had no idea what I would use a fox skin for. A hat maybe? I even tossed around the idea of a sporran for my kilt.  But the fox got rolled up and put with the deer hide...

Fast forward to this fall. The Boyo has taken to archery, and we've had about a half dozen good afternoons of ploinking away at the Halloween pumpkins with our bows.

The one on the left is my oak longbow, the one on the right is my first laminated recurve bow that I built as a test. It only has a draw weight of about 15 pounds, so I gave it to the Boyo to use. It shoots pretty well, and he seems to like it a lot!

So after our first few times shooting my old Boy Scout Arrow of Light arrows, I went and bought us each new arrows so I could retire the AoL's.  On the plus side, we now had more arrows to shoot at the pumpkins! On the down side, we had nothing to carry them in. I sat down a few nights ago thinking 'If only I had some leather or something that I could whip up a couple of quivers with.'

It seemed that finally I had a notion of what to do with those tanned hides! So after some fussing and measuring and research and tinkering, I built myself a quiver from the deer hide. It has a broken arrow inside as a stiffener that also serves as a place to attach a carabiner to make it a hip quiver...

And I built the Boyo a quiver out of the fox...

Originally it had the legs and head attached, but it looked like a dead fox hanging from his back. I clipped those off, but left the tail. I think the look is much better.  He insisted in having a back quiver, because that's how Robin Hood does it, and he is convinced that is how the Lakota used to do it, too when they hunted deer and buffalo. So we ran over to Fleet Farm and he picked out a belt, and I made it into a back quiver for him. It can be easily converted to a hip quiver when he gets older if he wants.

Anyway, we've been out shooting with them twice now, and they seem to work very well. I'm going to add a few embellishments to mine, but overall I'm quite pleased with the results!

More Later

Sunday, February 15, 2009

Pictures of the Bow

As promised, here are some pictures of the bow I made. Total cost of the bow was around $20 since I used materials I had on hand in the shop. I've got materials for a few more bows too, now that I've been bitten by this bug!


More Later

Saturday, February 7, 2009

Bluefeather Bow #1 is Done!

Well.
I've finished with all of the rough stuff on my first bow! Tonight I tillered the bow, quite an amusing process, and a learning experience.
A little FYI here. A bow is measured in many ways. Length of the bow is important. But what an archer looks for specifically is called draw weight. Everyone is different, and the draw weight for a bow depends on your arm length. When you pull an arrow back to shoot it, that is your draw length. Mine happens to be 29 inches. So a draw weight for me is measured at 29 inches. Make sense?
When I built this bow I wanted between 30 and 40 pounds at 29 inches. I worked and worked and worked it until it was about 50 pounds at about 12 inches. That would make it way too much at 29 inches, and would probably break the bow. Well, I marked off more areas of the arms to shave down and went to work again, this time really going at them, figuring I had plenty to work with. The next time I checked, the bow was at 33 pounds at 28 inches! In other words, I got lucky.

I finished shaping the handle, made a string for it and finally got to shoot it! I set up a bunch of knocked down cardboard boxes at the other end of the shop and flung my first arrow. After three shots I could put the arrow in a half dollar circle, so it shoots pretty well!

All that's left now is some finish sanding and putting on a finish! I'm going to post some pictures as soon as I find the little cable thingy that connects the camera to the computer.

Anyway, I celebrate another accomplishment... today I am a bowyer!

(And I guess it is pronounced " BOY-er")

More Later

Friday, February 6, 2009

Novice Bowyer

It's 2 am again, but I have not slept yet. Soon. Very soon.

As you may remember, the latest interest of mine has become archery. Well, bow building specifically. But only because a really nice bow would cost much more than just making a really nice bow myself.

Today in the mail came some supplies for making bow strings. I watched a couple videos online and thought 'now that looks easy!' but guess what? Not so easy!

I've made a few practice strings now, and finally feel comfortable enough to make a string for a bow that was my fathers when he was 14 or 15. It works pretty well! Though I am hesitant to take the bow to a full draw, because I don't know how fifty-two year old fiberglass will hold up, and I'd rather not have it exploding on me or the kiddos.

But the Boyo helped me make a string jig, and helped me loop string all around it. We had a pretty good time!

I'm working on an oak bow now, and have a few more steps for it before I can string it up and shoot it. But it is a fun thing to do, that building your own bow. Addictive too. I want to build a great many of them now! Until I get really, really good at it!

Ah, the life of an avid, addicted learner. Now taking bets on what I learn to do next!

More Later

By the by... anybody know how to pronounce the word "bowyer"?